|
[Note] If this page is too small to be readable, please enlarge it to 120-125%. Thank you.
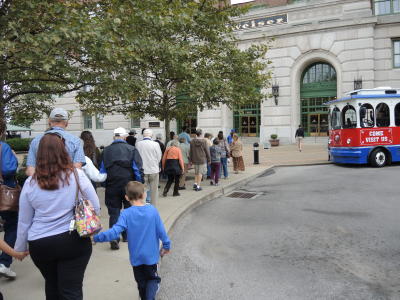
After enjoying ourselves in the clydesdale stable, we headed to the factory area to watch the Budweiser brewing process first hand.
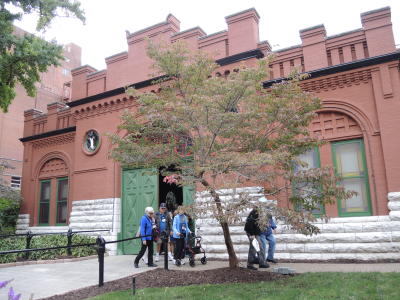
We are leaving the clydesdale stable.
The next stop is the fermentaion area of the brewery. How beautiful this factory really is, by the way! As a matter of fact, it is designated as a National
Historic Landmark District.
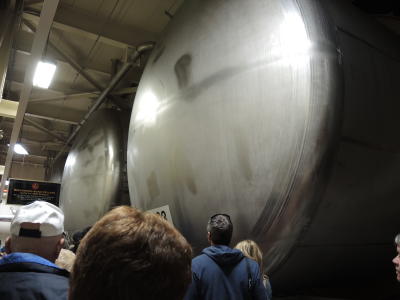
What is called lagering is going on inside of these big tanks. Lager means rest in German, and the low temperature fermentaion, which lasts three
weeks, is in progress here, In lagering, the yeast ferments wort (refer below) near the bottom of the tanks. Beechwood pieces are laid on the
bottom, which accelerates fermentation. Keeping the temperature low is crucial in this process. So, this area keeps low in temperature.
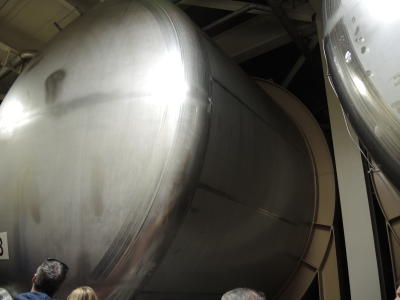
A fermentation tank seen fom another angle. You will realize how big the tank really is!
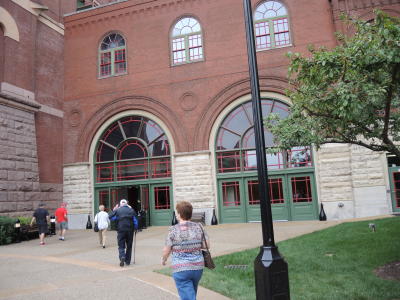
After watching the fermentation area, we are now going to the brewing area. There are tons of buildings in this brewery, so frankly I really don't know
where we are walking.
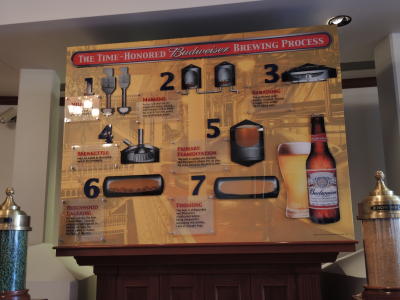
We were first led to the beechwood aging (refer to the last two photos). Now we are in a big entrance hall of another building, where a tour guide
explains the seven brewing steps using this board.The board features the seven main steps for making Budweiser. These seven steps are: milling, mashing,
straining, brewkettle, primary fermentation, beechwood aging, and finishing. I wonder why tour guides don't guide us in this order.
After getting a lecture, we were led to the brewing floors. We rode escalators.
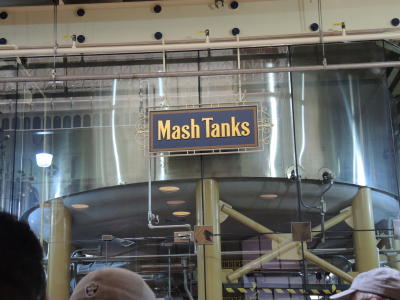
What you see in this photo is a mash tank. Mashing is the second step of the Bud brewing process, where barley malt and rice are broken down into sugars
by the power of natural enzymes that exist in malt.
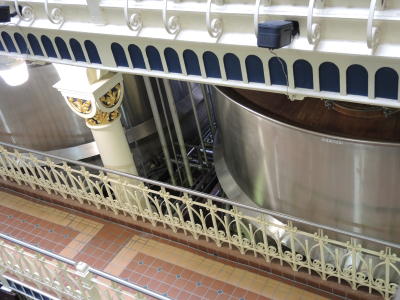
Strain tanks are lined just one level below the mash tanks. Straining is the third step of the process, where the sugar-contained mash is strained into
a sugar-rich amber liquid called wort.
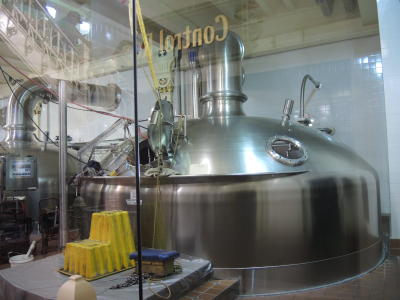
This is a brewkettle. Brewkettles are lined on the same floor as the strain tanks, but on the opposite side. Inside of a brewkettle wort is boiled with
hops, which add special flavors to beer. Do you see a lid is open on the left side of the tank? There is a stepstool by the side. A worker climbs on
the stool and puts hops through the opening into the tank.
Leaving the brewing area, we are heading to the bottling area, which is in yet another building.

This is the entrance hall of the building. There is a big show window, where a lot of beer brands that are made in this factory are displayed. We go up
on escalators to the very top floor of this building.
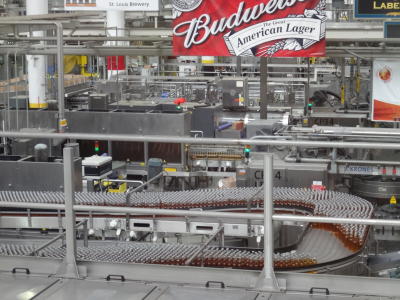
This is the bottling floor. Very sadly, any conveyer belts didn't run when we visited.
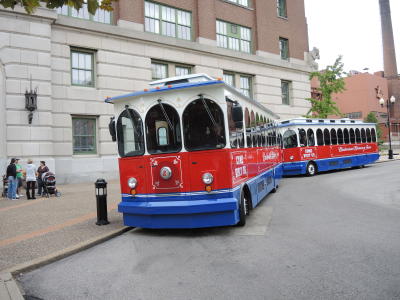
We went back to the first floor, got out of the building, and got on one of the shuttle buses that were waiting for us. The final stop is a tasting
room where visitors are given an opportunity to sip any two brands of beer made in this factory. I did not take any one photo in the room. Very sorry
about that!
After enjoying tasting, we left the Bud factory and went back to our hotel near the airport. We took a rest there and went out for dinner at a
Crackerbarrel that is located about 15 minute drive from the hotel. We enjoyed typical American country dinner! And day two was over.
|